Pages

Wednesday, September 5, 2012

Resto: Radiator Overflow Tank

Gidday,

Radiator overflow tanks........

I have heard that some folks just use an old "coke" bottle with a hose attached to the radiator and they let the plastic bottle lay down in the engine bay of their old vintage cars to catch the hot water from the radiator, bugger that one, do it once and do it right.

Ray has installed an old brass Mini Cooper overflow tank down into the engine bay of his 1928 Chev, looks very nice, certainly has a good bit of character about it, better than a plastic bloody coke bottle that's for sure and has never given him any trouble so with that in mind I went hunting for one a few months back.

Well first thing I quickly found out after a few phone calls to Mini Cooper wreckers is that they are rare and getting very hard to get in good condition and can fetch up to $160 Oz dollar, shit, so I searched ebay and made more calls, but no luck at all.

One night Ray rang, sends me an email while we are on the phone talking and it was a link to the UK Ebay site.... BINGO!! one Mini Cooper brass tank for 15 pounds with 35 minutes left on the auction and no bids, I quickly emailed the seller about the postage to Australia, "No problems, all good" was the reply.
No one else bid and I got the tank including postage sent over to Australia for 25 pounds (About $45.00). Bloody bargain and 5 days later it landed at our front door.

So I have had a small bracket made up and I used the old existing 1928 Chevrolet oil filter metal strap to hold the tank in place where it will be mounted just below/next to the stator motor and the bracket will come off the chassis cross member, I will install some high density rubber under the tank and have it just resting on the metal engine bay floor just to take up some fatigue of any movement,
it should work fine..

One cheap but smart looking brass tank..... Cheers


Resto: Interior Timber Work

Gidday,

Yep we are just about over the line with the interior timber work and that is a one big tick off the "to do" list which is getting shorter and shorter by the week..

The two front seat corners and also the two rear corner sections have been installed and are well and truly in place and not going anywhere, as all the panel work feeling very tight and strong. They took and good bit of sanding, but by now I know not to rush things, take my time and have a good long hard think about the problem before the ole "Bull at a Gate" mentality takes over.......

I only have the two corner brackets to install which hold the roof bows in place when the roof is folded down (not an issue for myself yet) and also I have to make up some timbers that run around the very top edge of the tub which the back seat upholstery gets attached and I am done.. D.O.N.E. done!!.

I decided to give the inside a spray over with Matt black primer even though the whole interior will be covered when the seats, side panels and carpets go in, I just like to keep things looking neat and tidy while I am working on it, plus also some primer on the screw and nail heads is a good thing.

Anyway here are a few pictures of where I am up to now and once again thanks for your interest..


AND HOW IT LOOKED WHEN WE STARTED....


Also in this below photo I have been playing around with my side mirror location and mounting bracket, but I think a test drive is needed.


Thank You

Wednesday, August 29, 2012

Resto: Internal Timbers Nearly Completed.....

Gidday,

Well my four timber corner sections, two for the front seat and two for the rear tub arrived in the post the other day, so now I can finish the interior timber of the Chev, I tried to make these two seat corners section twice a few months back and gave up, they bet me and I hung my head in shame....
I am no woodworker and they look relatively easy to make but there are many different angles and cuts on each one, so I cheated and had Peter a cabinetmaker who also happens to have all the 1928 timber pattens on file make them up for me and when you hold one in your hand and look at the shape of it, well yes they do look tricky......

Over the last few nights I have been playing around with them and having a "fitting" you could call it, taking my time to get them in postion, sitting just right, and also getting each one to marry in with my existing timber work that I made for the seat back supports. It will work out with a little sanding and shaping here and there.
Also I will by putting a 1" metal strap right around the top outside edge on the rear of the front seat, this will be screwed into the centre posts on each side and give the front seat more support.

Here are a few photos of where I am up to now...........


Once this is completed then I basically have to do the same to the rear section and that is fit the timber to the top edge of the rear tub and as you can see from the top photo there is no timber fitted now. The timber gives the car panels support and also it has the upholstery nailed/tacked into it..

A couple of good weekends and I should be finished,

Thank for taking an interest.

UPDATE : Work continues on the timbers
Front seat now completed


Rear tub timbers are now underway


Bloody dust from sanding


Drinks and a quiet time to sit back a have a good look at my days work.. Cheers


Sunday, August 26, 2012

20,000 visits.... Who'd A Thought

Surrprised?  Hell Yes!

Like I said "Who'd a thought" this blog about an old chevrolet car would get 20,000 views over an 18 months period, not me to tell you the truth.
I basically started this blog for the family to look in on from time to time, to have a few photos of dad on the internet to keep his memory going and also his old car but like all things and good plans they can change and grow and this one certainly got rolling along a little quicker than I originally planned as I thought it would take me about 5 years plus to get this car back on the road.... Hmmmm

Thanks to each of you that have followed this resto and I hope that some other people restoring old chevies can get a great deal of use from the photos and info which are worth their weight in gold when you are not to sure how to go about fixing something but have it all dismantled on the workbench in front of you, photos are very helpful to look back on.

And many thanks to my lovely wife Lisa and two kids, I know I bore them stupid with the constant ramblings and bullshit about this old car, they have been great and extremely understanding for putting up with me over this time....... It's nearly finished, just another couple of months :)

Many thanks and like I said..... "Who'd a Thought"


Resto: Started On The Seats

Gidday,

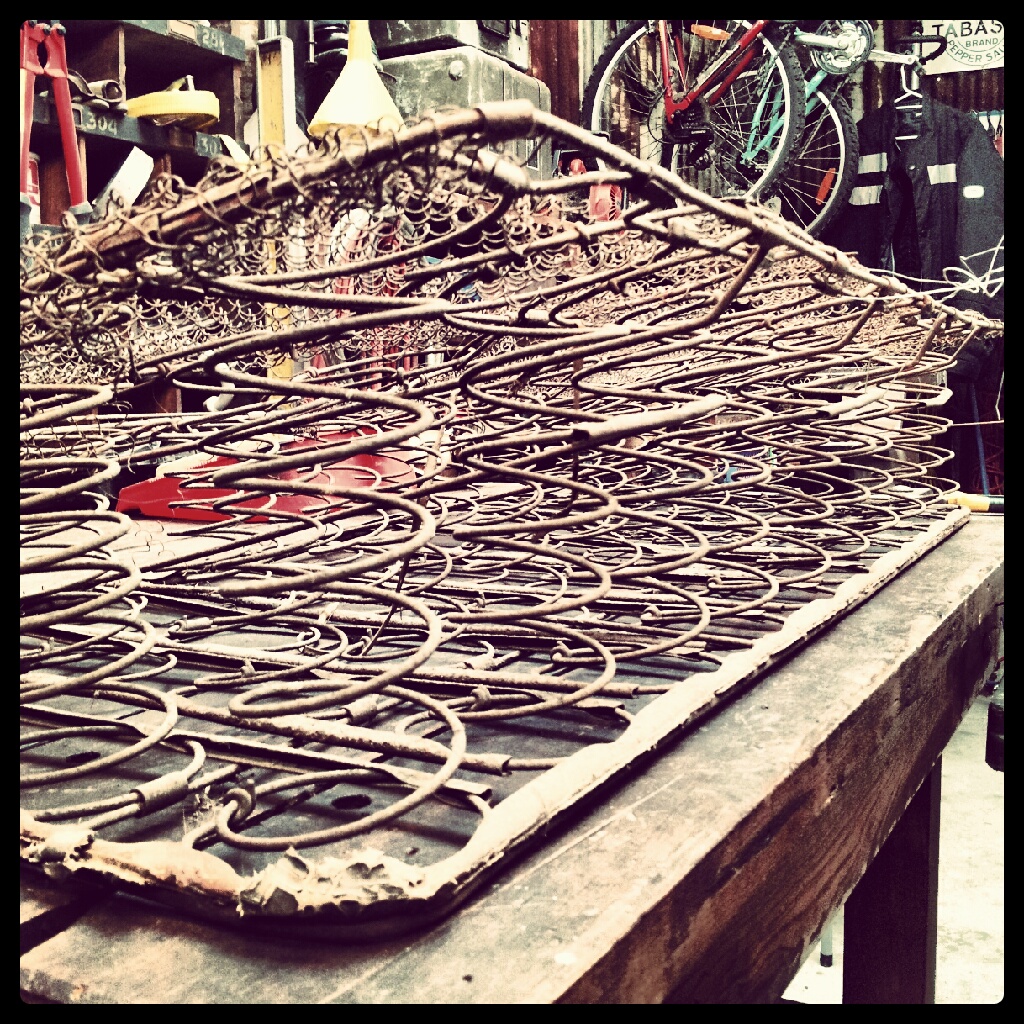
I spent a few hours on this cold, wet Sunday out in the shed picking off all the original old rusty fine wire mesh that covered the four seat frames. I had previously removed all the old stuffing or what was left of it ages ago so now I will clean up the wire springs and have it all ready for when I send it off to the upholster in Melbourne for the new matt black distressed look leather interior with black door coverings and charcoal grey carpet.
So you could say we are getting nearer to the end now and by end I mean registration, as this old car will be a life long hobby that will never be finished....

Friday, August 24, 2012

1928 Chevrolet Pickup-Stake Bed "For Sale"


Just a lovely example of a 1928 Chevrolet Truck, perhaps a little linework around the cabin,  a name on the doors and it would make a great promo vehicle for our Signshop..... Nice, maybe oneday :)

Wednesday, August 22, 2012

Now We Have Lights

Gidday,

Today the postie called by with a small parcel, my new single contact 6 volt headlight globes arrived in the mail from "Chevparts" in Sydney so tonight I can get Monty out in the dark, give them a test and lay some high beams up the driveway.
BTW these globes were rated at 11 candle power back in there day all those years ago, it's not that bright is it, 11 candles?

I love the old retro look of these globe boxes, kinda cool

Anyway so that is another thing to tick off the roadworthy list: Heandlights - Tick!


The old Chevy glow'in and lit up in all its glory, and yep, there only 11 candle power that's for sure.


No Getting Hot Now

Gidday,

I have been looking high and low on ebay both here and in the USA for a good, working second hand motor-meter for quiet a while now but the prices that they are fetching is crazy and then being second hand you just don't know how accurate the old temp gauge is going to be.... 
I would of preferred an older looking tarnished one covered in patina but in the end I went for a new $50.00 reproduction unit with a modern accurate working indicator...

One new Motor-meter is now installed onto the radiator cap to let me know the temperature on the water. 


Sunday, August 19, 2012

Resto: We Have Lights

Gidday,

Yep, another Sunday morning rolls by and it was about time for a easy few hours working bee in the resto shed on Monty with our goal today being to get the headlights and small cowl lights (parking lights) wired up and working.....

Months ago we had already installed the new chev wiring loom throughout the car so today it was a matter of connecting and running the crimped steel covered headlight wires from each headlight shell, down under each front guards, the chassis and soldering the ends onto the new wiring loom but before this we had to first dismantle the old front headlight buckets/shells, clean up the connectors by removing the very old solder and remaining original wiring that were left hanging off the ends, yes luck was once again on my side with all the original hardware still inside each shell after 83 years and in usable condition..... BONUS


A little rust in the bottom of the shells but nothing to serious to worry about..


Old wiring ends now removed


With the wires all connected and the test gauge showing power to the each headlight, in went the new globes....I hit the switch at the dash and nothing, WTF... turns out I had got the wrong globes.... Live and Learn, anyway there is power to them now so its just a matter of finding the right one to suit.

Next it was onto the 2 x small cowl lights that sit up near the windscreen, to easy and very straight forward and we could still even use the original old globes, the connectors were given a clean, new soldier applied to the wires and on went the switch.. BINGO..... We have lights.


Bright lights!, well working lights anyway....


With lights working now I can this week install the white glass lens covers to the cowl lights, and then tidy up some of the wiring harness which runs down inside the engine bay, I have to keep and make it look neat and clean for the roadworthy guy which will happen in the next few months.

Any excuse for a test run come 2pm so it was on with the warm coats and head wear, out the driveway, straight down to the local servo for some more petrol and then out onto the Hwy we went....... FUN.

We have found that Monty is more comfortable sitting on a speed of 45 - 47mph along the Hwy as 50mph seems just a little to hard, you wouldn't think that an extra few miles per hour makes much difference, but it does in these old vintage cars, things start to vibrate and the motor seems way more stressed, 45 has a real sweet spot.....DONE :)

Thanks Ray, another great productive few hours and as always its a fun day working on these old cars.

UPDATE.........

Today I installed the two white glass lens onto the cowl lights, not a bright light but they look cool.


Also on Saturday morning I called be a mates house to quiz him on gasket material and when we went out into his garage he gave me this old "SHELL" fuel can.... Love it and it will match my other one that I have installed onto the drivers side running board..


Saturday, August 11, 2012

Another 30miles today..

Gidday,


The sun was out, the air was chilly and with me having installed the carby back onto Monty Friday night after Ray took it home last weekend to sort out a small matter with the float, I can honestly say now that this ole Chevy has never been running better since we dragged it out of dads shed many months ago....
Over the last few weeks we have been noticing a slight "flooding issue / leaking carby bowl" which has made the engine run a little rich, blowing a little to much smoke etc, etc.... even with new needle, seat and bowl gasket installed, it would still leak after a while with the vac tank tap left on, so after Ray ran a few tests at his place with it through the week he nailed the problem down to the float and it having sideways play, well way to much sideways movement causing the needle / carby bowl to constantly fill and in turn overflow and leak out.
So now I have a non leaking carby, a more responsive engine that will happily sit on45 -50mph and get up to that speed quicker and also it seems to hold it's own better on hills and inclines along the Hwy.

The testing permit ends this coming Sunday and I have travelled 331miles in total, I could pay and get another but I won't, I now need to complete the interior and get it registered  but I am waiting on some parts to still show up.
It seems to just improve the more I drive it and iron out the small bugs..

Anyway here are a few pictures I took today, yes I went a little overboard again but I like them..