Pages

Tuesday, April 24, 2012

Resto: Windscreen Comes Off Again

G'day,

With the thought of one day driving this old banger on the road looming closer and closer it was mentioned that the old windscreen glass come out of the frame and off to the auto glass man we head asap with the 2 x old pieces in hand to get some modern safety auto glass cut to the exact size which will then be reassembled back together and installed onto the car so with that plan in mind I quickly set about and completely pulled apart the old windscreen frame...
There was little rust in the glass channels of the frame, the old glass come out easily and is still intact but all in all and after a good clean up the frame is in very good condition, apart from a couple of small caps that were rusted through, which I will try and track down some others to replace them..

Monty now windscreenless and looking like a dirt track racer


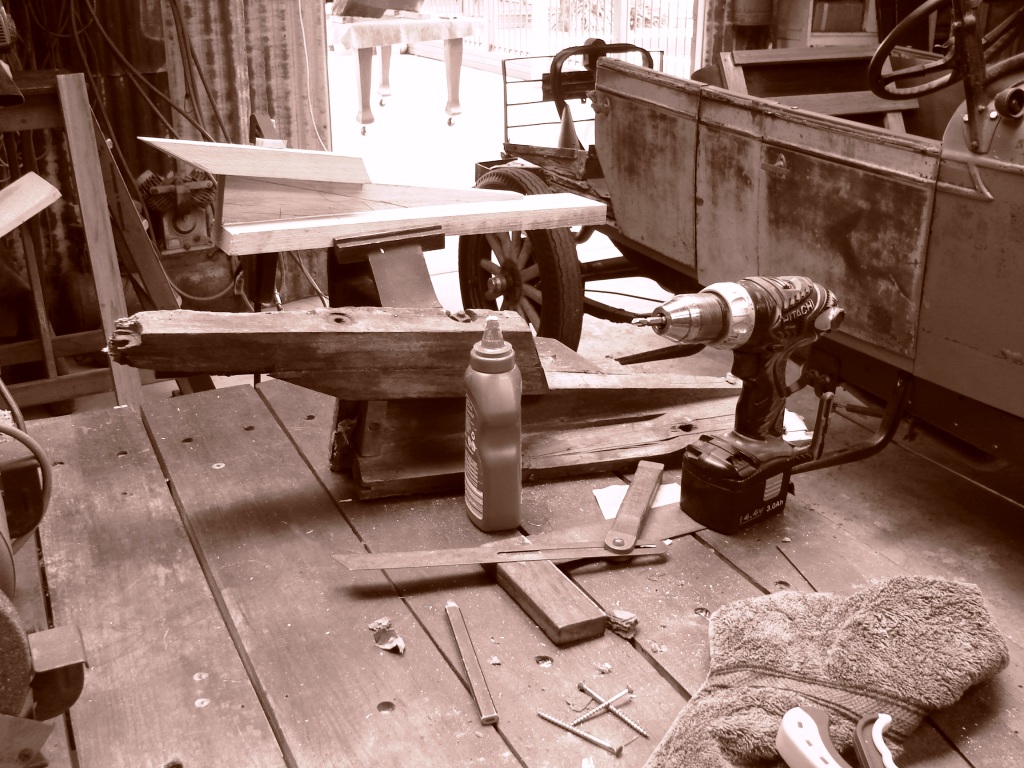
The windscreen frame is on the bench here somewhere dismantelled along with some rear tub brackets, rear spare tyre holder and front headlights which are all getting some TLC


The rear tub is now sitting on the car nice and solid as I installed to 2 x heavy interior "Y" brackets to the side timbers and floor just behind the rear door opening, also now the 2 x rear doors can now be closed securely due to the "Y" brackets being install which is good to see and do.
I only have a couple of smaller jobs on the rear tub to finish and then the complete timber frame of the car will be lifted up off the chassis to install some webbing which will sit between the chassis and the timber frame which will stop any squeaks from the contact.

As I mentioned today I have removed the spare tyre holder from the rear of the car so that when we lift the frame up from the chassis it will be easier and give us more room to then nail the lower underside of the rear tub to the new timber frame also it will give me a chance to try and straighten the holder up a little, yes that was wonky also just like the rest of Monty......


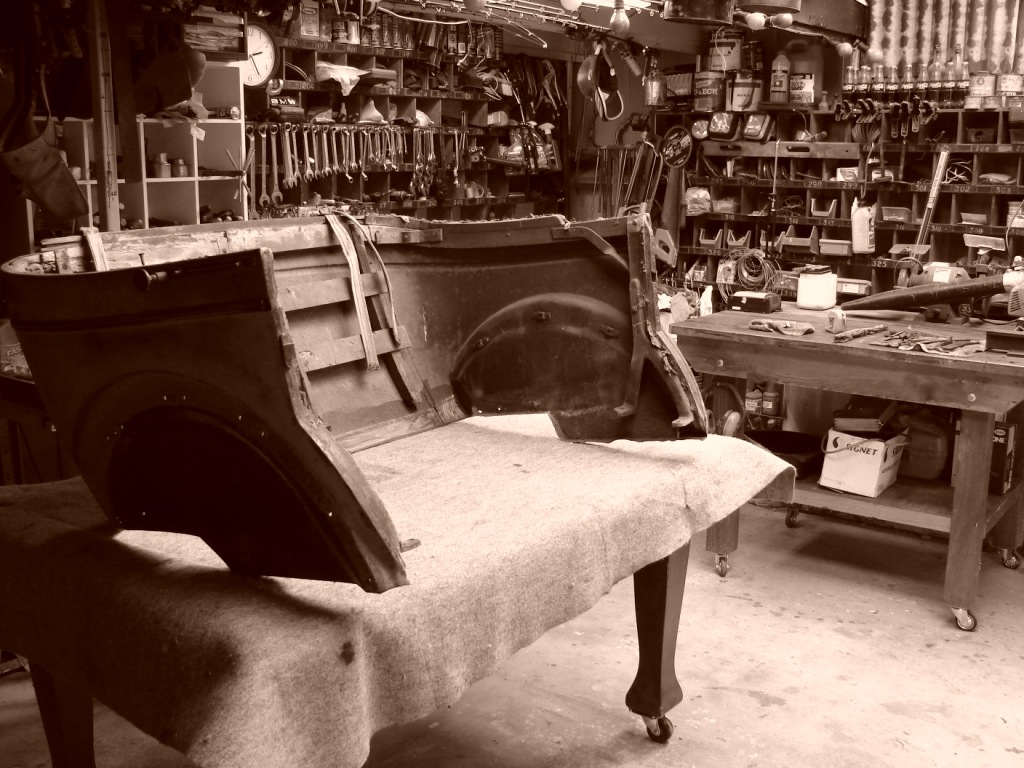
Won't be long now and I will have to get the seat framework which has been hanging down from the shed roof along with the guards/fenders and give the 4 x sections the once over before the auto interior man to so his thing and make it all a little more comfy........


Many thanks for checking in on me from time to time, some weeks feel very productive and others seem like nothing has happen at all, I wouldn't say unproductive just slow and then there are the small fiddley hidden jobs that take quite sometime to complete but are unnoticeable to the eye when you stand back and look so I understand that sometimes you can look in on the blog and see that nothing has changed, "old Monty looks the bloody same" I hear you say but I can assure you that it is constantly being tweaked and slowly being moulded into the lovely old vintage car that dad would be so proud of to see driving about the streets of his home town, Trafalgar....  We are getting closer :)


Saturday, April 14, 2012

Resto: 1928 Chevrolet timbers nearly completed

G'day,

Well I have had a couple of really productive seasions out in the resto shed on ole Monty, the rear tub timbers with everything expect the corners are now cut to shape, sanded and sitting in place nicely just waiting to the screwed together and then nailed to the tub.....

So basically all the bigger timber items that I had to make up myself are now finished, yes there are alot of little things to now go back over and re-check but when I stand back and have a good look at all that has been acheived I am extremely happy with the outcome..... So I will let the photos below to some more talking for me.


This little machine below is just the best unit, its's a Ryobi thicknesser.... I love it......


Thank you all for talking an interest and looking in on my progress from time to time and in saying that the next thing to do over the coming weeks is:

  • Raise the body off the chassis again to install some webbing between the chassis and mail timber rails.
  • Install the 2 x valances and side steps.
  • Install the front and rear guards.
  • Install the front headlights and mounting beam
  • Complete the wiring to the lights.
That will do it for now as the list is just to long, but it is getting shorter by the day  :)

Sunday, April 1, 2012

Resto - What A Day That Was...

G'day.

Tonight I am tired? and stuff you daylight savings!!.... well I woke at 4.30am because of the daylight savings switching back which I normally start to stir around 5.30am, but yes 4.30am is a little early, so by 6.30 I was out and up and about the kitchen making a cuppa coffee and throwing some breaky together while the others had a sleep in and anyways Ray was coming out from Melbourne at half 8 to help me again with the rear tub install on ole Monty, and I had a few another things to do before he arrived like, check ebay, facebook, etc :)

To be honest I thought today was going to be a straight forward one in the shed..... lift tub on, tub off, tub on, tub off.... you get the picture, do this a few times and we will be all done by midday.. HOW BLOODY WRONG WAS I :(
It all started well, anticipation was running on overdrive and we were both fired up to get this done, and make Monty look like a vintage car again and then over the course of the next hour things started to turn a little pear shaped and one wrong thing lead to another, I would of thrown in the towel quickly to tell you the truth as I could see that alot of my work over the past few months was not "up to it" as I had thought it was but with Ray there leading the way and having all the ideas to sort everything out, we eventually got it done around 4pm..... but there were some trying hours in between of WTF are we doing here.

Basically today we removed all the 4 x doors and the centre post on the drivers side and half the front seat and we had to adjust and re-align everything, brackets, hinges, re-screw and re-drill holes... Why you ask?? because without the tub installed on the car when I hung the doors and centre posts months ago I was not able to follow the correct "line" where the rear tub would be going, and along the hood, cowl, doors, panels and tub there is a raised moulded 3/4" trim line that goes right around the car and this has to line up exactly to look correct......I was a little out, but all is fixed now,  thanks Ray great job done.

You can see in this photo the moulded line just above the door handles, well now it runs very true, they all line up spot on and it follows the body lines lovely... but earlier this morning it quickly came to our attention that it was not the case and needed a full days work of tweaking this and that...


And to my surprise when we had finished, cleaned up and packed away a few things, I realised that I didn't take one photo of the works while they were in progress, my mind was in another place all day and buzzing with how to fix it up...... Anyway to ease the stress of today and just before Ray was to head back to Melbourne, we opened the house gates, jumped in the front seat and pointed Monty towards to wide open road for a good drive around the block at a reliable 35mph, we completed 4 laps, 3.5miles in total and it ran just as expected, lovely and that soon put everything back into perspective as to why we are doing this..

So what's next I hear you asking??? well hopefully over this long weekend with it being Easter I will make a start on the new timber work that now has to be fitted around the inside of the tub but first I must carefully unpick all the old rusted nails and original timbers which I can then partially use as templates when measuring up the new pieces, slow but rewarding work.


Ray has more photos and also a detailed write-up of the bodywork on his blog
http://my28chev.blogspot.com.au/2012/04/monty-chev-gets-back-his-near-and-dear.html


We are getting closer to the day when I can drive it down the Princes Hwy towards the vehicle registration office..... Thanks and talk to you soon....


Thursday, March 29, 2012

Resto: Rear Timber Floor Goes In....


Last night I got stuck into the rear floor area of the chevy and laid down some new timber which went down and fitted into position very well and what a difference it makes in apperance to the layout also this weekend the whole rear tub section will be fitted back up and installed in place if all goes as planned.. I'll keep this post nice and short.... Talk to you soon :)

Friday, March 23, 2012

Resto: The rear tub timber work is coming along nicely

Again for my Saturday morning I was out in the resto shed early laying out all the gear and power leads and by 8.30am I had the timber thicknesser cranked up as I was thinning down some timbers for the chev and once again neighbours, I'm sorry about the noise as considering the compact size of the thicknesser it pumps out a mighty loud sound.......very bloody loud infact!!

So today I wanted to get the lower back timber of the tub shaped up, sitting nice and attached to the 2 x side sections that I made last weekend and then also have the rear metal tray screwed and attached to all these 3 timber sections.... well, that I achieved after a couple of hours and was ready for an early lunch, the day was going great and I was happy with the result..

One rear timber shaped, checked out and completed.


 Below the 3 sections are screwed and attached to under seat metal tray


After lunch my son Codi came out and gave me a hand to lift the rear tub back onto the chassis to see if all this bloody work and effort was worth it and that it will all fit together soon and line up as planned..... YES it did,  "Good job dad", codi said, that made me grin !!
Anyway after running our eyes up and down the lines of the bodywork and admiring the chev again with the tub inplace we quickly lifted it back off again and placed  the tub back up on the bench as I now wanted to make the rear under seat "lattice" type frame..


And below is the end result of that which I had knocked up and completed by about 2pm...


So today with another very productive few hours of work completed and achieved, I feel my confidence growing all the time the more I work on ole Monty and we are getting there although slowly and I'm sorry if the blog must seem a little slow and boring to some but this sort of work is time consuming for the best of them and even more so for myself as I am a novice woodworker fumbling my way along as I tackle each piece at a time, but saying that this has to be the most rewarding, "outside the square" challenge that I have ever had a go at, when that door closes of a night. the hand reaches out for the light switch and the shed fall in darkness then I walk away from it all, my head is buzzing with pride on what and how this car resto is progressing...


Thanks for looking in from time to time and cheers

Sunday, March 18, 2012

Resto: Rear Tub Section Progress

With the girls off shopping and Codi laying low after a late Saturday night with some of his mates I had a green light after lunch to get straight out in the shed and make some more progress on the rear tub timber work of the Chevy for a few hours and I didn't waste anytime in making a start.
As the photo shows below, first I placed the old "saved" timbers back up onto the chassis and roughly worked out what went where and how it will all bolt up to the new main timber rail.


So with a more clearer picture of it all now in my head, next it was off to the work bench I headed with a spring in my step and not before to long I had one side completed and was feeling very confident about the outcome..


With one side completed which seemed to fit very well I quickly had the other side built and with them both sitting side by side on the bench and looking good, this sunny Sunday afternoon was another one to smile about.
With that done I reached for the new metal tray section that I purchased from "Old Era Services" in NSW then sat that and the two newly built timber pieces on the chassis and clamped them all together and I can say that I am very happy with my 3 hours of work today.


After I cleaned up the shed, bloody sawdust!! and then packed away all my woodworking tools, the inlaws appeared out of nowhere and walked down the driveway for a cuppa and a chat...... 1 hour later and with goodbye's all done and dusted I rolled out the rear tub on the table, plugged in the angle grinder with the heavy duty wire wheel attachment and gave the insde of the tub the once over and combined with the "rustbuster" from yesterday it came up very nicely. I quickly brushed on another coat of "rustbuster" and will leave that for another day to work its magic.....Thanks for your interest, Cheers

Friday, March 16, 2012

Resto: Rear Tub Section Was Started Today

Today I made a little more progress and jumped into working on the rear tub section of Monty, but first one important job had to be complete and that was to take many many photos and store then away on the computer for future reference, which no-doubt I will need as I make up the new timber and refit them over the following weeks

I removed the two heavier timbers from each side which attach to the rear end of the main timber rails and also which hold on the "rusted" old metal under seat tray or which was left of it, and kept this all in one piece for ease of coping...
With that removed the bodywork is now floppy, so I decided to leave the remaining timbers around the top edge intact for now so that it holds it together and is easier to shift on my own around the workshop. once I install the new base timbers and metal tray and mount them to the main timber rails then I will remove the others... Well that is the plan for now??
Next it all went up on the old family kitchen table which now serves as a resto shed work bench then out came the marvelous, most talked about "Rustbuster" which I have now brushed on the inside of the tub only and will leave until it all turns a lovely shade of blue, then the wire brush on the angle grinder will give it a work over and I will repeat with another coat, see what happens..

Here are a few pix of the works mentioned and thanks once again for taking an interest


As you can see the timbers are badly rotten and soft in places


Brushing on the "Rustbuster" and pretty much instantly the change in colour is noticeable


Now all I have to do is get that onto there....  HHHHmmmmmmmmmm


Measurements have now been taken and a list has been written up of the new timbers that I will need which will be collected this week and then the fun will start, talk to you soon, Cheers.

Wednesday, March 14, 2012

Resto: Front Seat lattice Made & Installed

Well over the past couple of weeks, time and also the opportunity to get some work completed on the Chevy has been available to me but to be honest it has been a rather lack-luster effort of my behalf, why you ask?? well at this time of the year there are always some major gardening / pruning jobs to complete before winter kicks in so I have been basically side tracked away from the resto shed but it's all to my own choosing..

So last Saturday afternoon I ran over to the hardware and picked out a couple of lengths of KD hardwood, came home, switched on the radio then quickly knocked up the front seat lower removable "lattice" section of the seat, this is the top section of the under seat storage area...


Once again a couple of random pix of Monty are always called for....do ya like my NOS canvas water bag from ebay for $21.00 and it really should be on the front under the radiator where it will stay once we are road bound and wandering some dusty backroads..


Anyways that about it for now, with work to start on the rear tub section this weekend hopefully. Thanks.

Monday, March 5, 2012

Resto Shed Image

This photo that I snapped on the weekend deserves a post all of it's own with a few of my grandfathers old hand tools laying amongst the sawdust on the workbench, creating a rustic image in the shed.. 

Friday, March 2, 2012

Resto: Started Well - But Quickly Went To Shit

I am pissed with myself tonight, really bloody disappointed...

This wet saturday morning started off well with me out in the resto shed at 8.30am and I was straight into the timbers on the front seat supports as I wanted to get this whole front seat section finished today and within an hour I had the 3 x verticle timber slats, cut, screwed, glued and installed and I was all smiles.


 Next I was back in the kitchen as my son and his mate who had a sleepover were up and about and I always cook them bacon and eggs when they roll out of bed after a late night, plus I get a second breakfast or brunch so I can't complain.....

The two upper curved corner timber sections of the front seat frame were next it tick off the list of jobs and I had given this a bit of thought over the last couple of weeks, so with a plan in my head I set about getting to work by taking measurements and generally starting to shape one piece of timber up, and this is were I started to get flustered and after about two hours of stuffing around I was starting to realize that I was way out of my depth with this sort of timber work, the curves and angles were just doing my head as the timber that I had shaped and cut that I had in my hand was well rather embrassing and did not resemble the shape that i was trying make, so with a few nasty words out of the way I turned to the photo of dad up on the wall and said "Come on pop, can ya out my out here dad " ...... that normally works.

By now I am completely covered from head to toe with sawdust, my hair is white from the very fine sanding dust which had made its way into every bloody orifice in my body and the blustery strong easterly wind didn't help my cause either which had helped to cover everything in the shed with dust, even my dog was looking whiter....

After a quick lunch break and some inspirational words from my gorgeous wife I decided to give it another go by trying it from a different approach, well that was a waste of time and at 4.30pm I sat down in the remnants of my days work and felt just so defeated, why had some little pieces of timber beaten me, I looked back up at dads photo and just stared at it for a minute or two.... "Not this time dad".

7 hours I was out there for and I can say that this has been the most disappointing, most least rewarding day spent working on Monty out in the shed that I have had over the past 12 months and with that I said I am signing off and thinking about something else for the night..... Cheers

PS - If you have any photos or tips on these timbers can you please email me some suggestions.

SUNDAY

After a good nights sleep and also mumbling last night that I will not go out in the resto shed Sunday as I need a day away from it all, well when I returned from a trip to the rubbish dump where I dropped off a ute full of tree branches from one that I had cut down Friday night and after I washed and hosed out the ute, I found myself standing at the workbench again with those two bloody curved timbers in my hand, thinking and trying for the life of me how can I get them to fit in......so much for my day away form the Chevy, this project is addictive.

What to do now? How will I work this out? so I reached for the phone and I found myself calling "Pete the timber man" from the central coast of NSW for some much needed advice, Pete had made the 2 x main timber rails on Monty and also the timber steering wheel and has been a wealth of information over the past 12 months whenever I was stuck with a timber issue, Pete was only to happy to lend some advice, have a chat and point me in the right direction as over the years he has completed and re-fitted out many 1928 Chevrolet's bodies of all types with new timbers and he comes highly recommended from many involved in the vintage Chevrolet scene here in Oz..

"G'day Grant, yep I read your blog last night, in a bit of trouble I see"...... I quickly apologized for calling at midday on a Sunday and then we got talking about what I was trying to achieve..... "No problems Grant, I have a template already made up which I made years ago, so I can quickly knock you up a couple of corners with extra length on each end and then you can cut and fit them to suit.... Don't worry about it", we chatted for a while and then hung up.

Pete, thanks every much, your offer is very much appreciated mate and no doubt the workmanship will be of the highest standard when the sections arrive in the post..... Talk to you soon :)